NotebookLM can create impressive slide decks, but the final result depends on how you use it. Many people simply add a topic, click the slide deck button, and expect a perfect presentation. The problem is that this usually creates slides that look generic, basic, or not fully aligned with what they had in mind.
The good news is that NotebookLM can produce much better presentations when you prepare your sources, customize the settings, and give it a clear prompt.
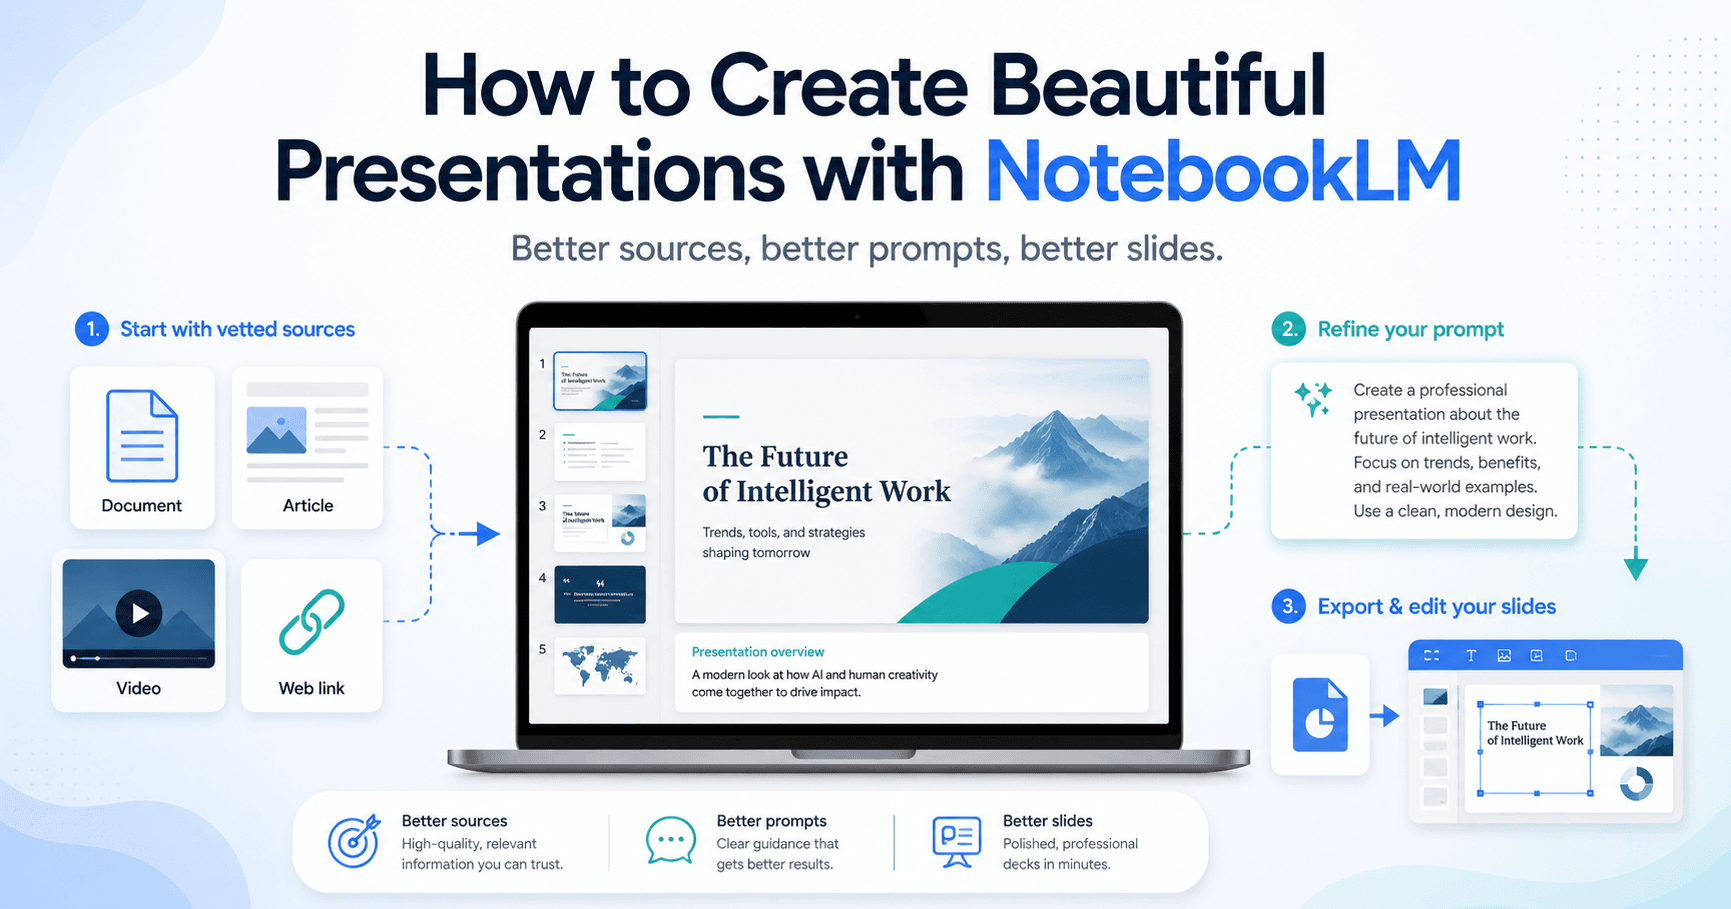
Start with trusted sources
The first step is setting up your notebook correctly. NotebookLM creates presentations based on the sources you add, so the quality of your slide deck depends heavily on the quality of those sources.
Instead of letting NotebookLM pull random information from the web, you should add only sources you already trust. These can include articles, blog posts, YouTube videos, documents, PDFs, or notes that you have reviewed before.
For example, if you want to create a presentation about woodworking, do not just search for “how to get started with woodworking” and import the first results. A better approach is to do your own research first, choose the best articles and videos, and then add them manually to your notebook.
This gives NotebookLM a stronger foundation and helps it create slides with more accurate and useful information.
Use the Slide Deck settings
After adding your sources, go to the Studio section inside NotebookLM and select the Slide Deck option. However, instead of clicking the button immediately, open the customization settings first.
This is an important step because NotebookLM lets you control how the presentation will be created. You can choose the type of deck, the language, the length, and the overall direction of the slides.
These small settings can make a big difference in the final result.
Choose the right type of presentation
NotebookLM usually gives you two main slide deck options: a detailed deck and presenter slides.
A detailed deck is better when you want to study or understand a topic by yourself. It usually includes more text, more explanations, and more complete information.
Presenter slides are better when you are going to speak in front of an audience. These slides usually have less text and are designed to support your presentation while you explain the topic.
Choosing the right format helps NotebookLM create a deck that matches your real goal.
Write a better prompt
The prompt is one of the most important parts of the process. A simple prompt like “create a presentation about woodworking” may work, but the result will probably look generic.
A stronger prompt gives NotebookLM more direction. You should explain the topic, the title of the presentation, the audience, the visual style, and the main points you want included.
For example, you could ask NotebookLM to create a presentation called “Woodworking 101: Your Crafting Odyssey,” with a creative visual style, focused on safety, essential tools, wood types, and a simple beginner project.
This kind of prompt helps the tool understand not just the subject, but also the style and structure you want.
Use Gemini to improve your prompt
A useful trick is to use Gemini or another AI tool to help you write a better prompt before adding it to NotebookLM.
You can ask Gemini to create a detailed prompt for a NotebookLM slide deck. Then, you can edit that prompt and make it more specific.
This extra step can improve the final presentation because NotebookLM receives clearer instructions from the beginning.
Compare the results
When you generate a presentation without a custom prompt, the result may still be acceptable. The slides can look clean and the information can be useful, especially if your sources are good.
However, when you use a clear and detailed prompt, the final deck usually looks much better. The design feels more intentional, the structure is stronger, and the slides are closer to the style you wanted.
This is why prompting is so important. It turns NotebookLM from a basic slide generator into a more creative presentation assistant.
How to edit the slides
One limitation of NotebookLM is that editing the slide deck directly can be difficult. In many cases, if you want to change something, you may need to generate a new deck.
But there is a simple workaround.
First, download the NotebookLM slide deck as a PDF. Then, use Canva’s PDF to PowerPoint converter. This allows you to turn the PDF into an editable presentation.
Inside Canva, you can adjust text, move elements, delete images, add new visuals, and improve the design. Some advanced tools may require a paid Canva plan, but the basic workflow can still be useful with a free account.
Edit in Google Slides
Another option is to download the Canva file as a PowerPoint presentation and import it into Google Slides.
To do this, open Google Slides, create a blank presentation, click File, choose Import slides, and upload the PowerPoint file.
This gives you another way to edit and organize the presentation. The process may not be perfect, especially if some slides are imported as images, but it still gives you more flexibility than keeping the deck only inside NotebookLM.
Final thoughts
NotebookLM can create beautiful presentations, but the best results do not come from clicking one button. You need to guide the tool properly.
Start with trusted sources, choose the right slide deck format, write a clear prompt, and use Canva or Google Slides to make final edits.
With this workflow, NotebookLM becomes much more powerful. It can help you turn research, documents, videos, and notes into polished presentations that are easier to understand, customize, and share.
The key is simple: better sources lead to better information, better prompts lead to better structure, and better editing leads to better slides.


Комментарии0
Пожалуйста, войдите, чтобы оставить комментарий.