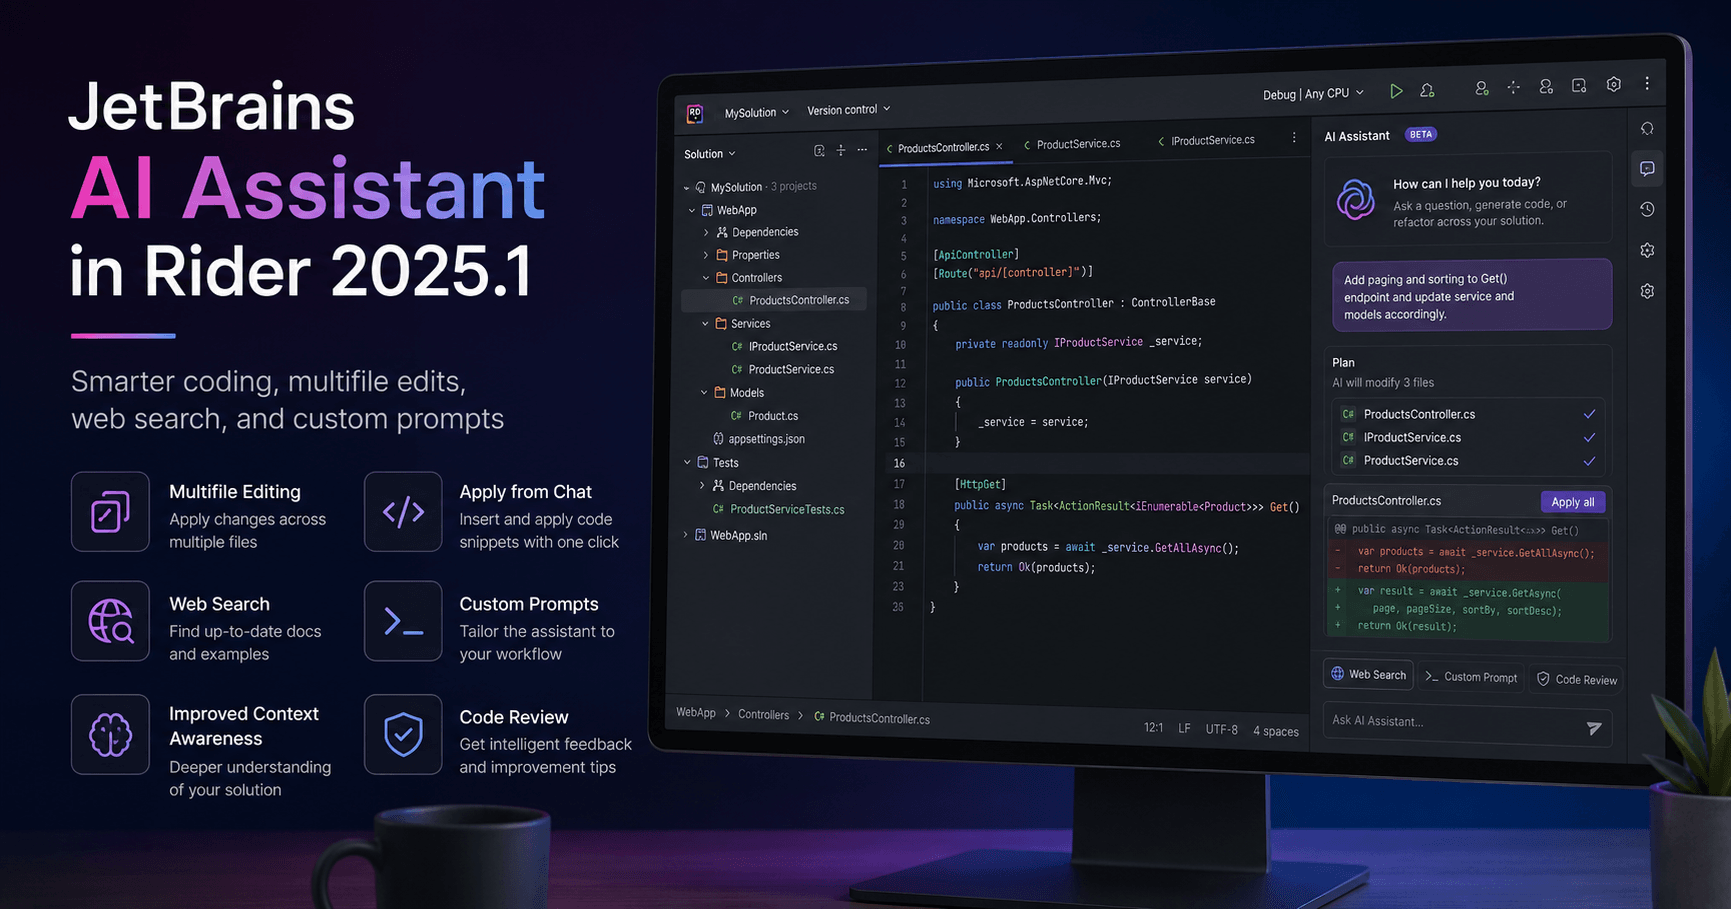

JetBrains AI Assistant has become much more useful in Rider 2025.1 and newer versions. The biggest change is that AI Assistant is now available for free in all versions of Rider 2025.1 and above, with several powerful features that can help developers write, review, and improve code faster.
This tutorial explains how JetBrains AI Assistant works inside Rider, how to use chat and edit modes, how to add project context, and how to create custom prompts for repeated coding tasks.
What Is JetBrains AI Assistant?
JetBrains AI Assistant is an AI-powered coding helper built directly into JetBrains IDEs. In Rider, it can help you understand code, generate changes, refactor classes, apply snippets from chat, search the web, and work with multiple files at the same time.
In Rider 2025.1, the assistant supports improved context awareness. This means it can better understand your project, the files you are working on, and the instructions you provide. It can also use external information through web search, making it more flexible for real development tasks.
Opening AI Assistant in Rider
To start using AI Assistant, open Rider and look at the right side of the IDE. You should see the AI chat icon. Clicking this icon opens the AI Assistant chat panel, where you can start asking questions or requesting code changes.
There is also another AI Assistant icon in the top menu bar. This one opens the AI Assistant widget. The widget is useful because it shows information about your current AI license, your quota, and how much usage you have left.
If you have a JetBrains dotUltimate or All Products Pack license, AI Pro may already be included. Other users can usually try AI Pro for a limited period. However, basic features like code completion are available for free.
Checking Your AI Usage Quota
The AI Assistant widget includes a usage bar, but it may not show exact numbers clearly. If you want more detailed information, Rider stores quota data in a file called AI Assistant Quota Manager 2.xml.
You can open this file inside Rider and ask AI Assistant to summarize it. For example, you can ask:
“How much of my quota have I used?”
The assistant can read the information from the file and give you a simple summary of your token usage and quota limit.
Chat Mode vs Edit Mode
JetBrains AI Assistant has different ways to work. Two important modes are chat mode and edit mode.
Chat mode is useful when you want to ask questions, discuss code, understand a file, or request smaller changes. You can ask the assistant to explain what a class does, suggest improvements, or help you understand an error.
Edit mode is more powerful. It can gather context automatically and apply changes across multiple files. This is useful when you want the assistant to make real code edits instead of just giving advice.
For example, if you want to update several files based on a coding guideline, edit mode can review the relevant files, suggest changes, and let you accept or reject them.
Creating Project Guidelines
One useful workflow is to create your own markdown file with coding guidelines. For example, you can create a file called guidelines.md and write instructions for how your code should be structured.
You might include rules like:
Every MonoBehaviour should include a no-op
OnDestroymethod.Comments should follow a specific format.
Default access modifiers should not be written when unnecessary.
Using statements should be ordered alphabetically.
After creating the file, you can use @ notation to reference it in AI Assistant. Then you can ask the assistant to update a file according to those guidelines.
This is similar to how developers use rule files in tools like Cursor. The benefit is that your instructions become reusable and can be shared with teammates.
Reviewing AI Changes
When AI Assistant makes changes, Rider opens a preview window. You can review the proposed edits before applying them.
This is important because AI tools are not perfect. They can misunderstand your request, delete code, or add something that does not fit your project. Always review every change before accepting it.
Rider gives you options to accept all changes, discard all changes, or review each file individually. This makes it safer to use AI on real projects.
Adding More Context
AI Assistant works better when it has the right context. In Rider, you can manually add context in several ways.
You can add the current file, additional project files, symbols, commits, or visible UI elements. You can also use #thisFile to reference the file currently open in the editor.
This is helpful when your request depends on more than one file. For example, if you want to refactor a class based on a shared interface or project convention, adding the related files gives the assistant a better chance of producing useful code.
Using Global Chat Instructions
Rider also lets you add general chat instructions in the prompt library. These instructions are applied to every new chat.
For example, you could tell AI Assistant:
“Always keep code concise, use clear naming, and order using statements alphabetically.”
This is useful for rules you want applied all the time. However, for larger or more specific instructions, markdown guideline files may be easier to manage and reuse.
Using Slash Commands
AI Assistant supports slash commands. When you type / in the chat window, Rider shows available commands.
One useful command is /refactor, which can help refactor selected code.
Another powerful command is /web. This lets the assistant search or reference online documentation. For example, if you are working with Unity, you can ask AI Assistant to use official Unity documentation while implementing a feature.
A good prompt might be:
“Use the Unity Character Controller documentation and help me implement character controller support in this file. Follow my project guidelines.”
The assistant can search the web, understand the documentation, and propose code changes based on your request.
Using Codebase Context
In chat mode, AI Assistant also has a codebase option. When enabled, it can search your project and automatically include relevant code in the context.
This is useful when you do not know exactly which files the assistant needs. Instead of manually adding every file, you can let AI Assistant find related code by itself.
Even with this feature, you should still review the output carefully.
Creating Custom Prompts
One of the best features in JetBrains AI Assistant is the ability to save custom prompts.
Imagine you often refactor classes into the builder pattern. Instead of writing the full instruction every time, you can create a reusable prompt.
You could write a prompt that says:
“Refactor this class into the builder pattern. Make the parent class constructor private, create a nested public builder class, add fluent methods for each property, and include a final build method. Keep the code concise and readable.”
After testing and refining the prompt, you can save it in the prompt library. Later, you can select a code fragment, run your saved prompt, and apply the same refactoring workflow again.
This is especially useful for repetitive tasks like creating builders, adding tests, writing documentation, generating examples, or applying internal code standards.
Why Markdown Instructions Are Useful
Markdown instruction files are flexible because you can use them across different tools. If you work with JetBrains Rider in one project and Cursor or VS Code in another, markdown guidelines can still be reused.
They are also easy to share with your team. Instead of everyone writing their own AI prompts, your team can keep a shared set of rules in the repository.
This helps make AI-generated code more consistent.
Is JetBrains AI Assistant Better Than Cursor?
The answer depends on your workflow. If you are building Unity or .NET projects, Rider is often the most convenient IDE. In that case, having AI Assistant built directly into Rider is a big advantage.
Cursor may still be useful for teams that rely heavily on VS Code extensions. But JetBrains AI Assistant is becoming much more powerful, especially with multifile editing, web search, better context awareness, and custom prompts.
The best tool depends on the project, the IDE you prefer, and how much control you want over your AI workflow.
Final Thoughts
JetBrains AI Assistant in Rider 2025.1 is a strong productivity tool for developers. It can help you understand code, edit multiple files, create reusable prompts, follow project guidelines, and use web documentation inside your coding workflow.
The most important thing to remember is that AI Assistant does not replace the developer. It can save time, but you are still responsible for reviewing the code, checking the logic, and making sure everything works correctly.
Used carefully, JetBrains AI Assistant can become a powerful part of your development process.


评论0
请登录后发表评论。