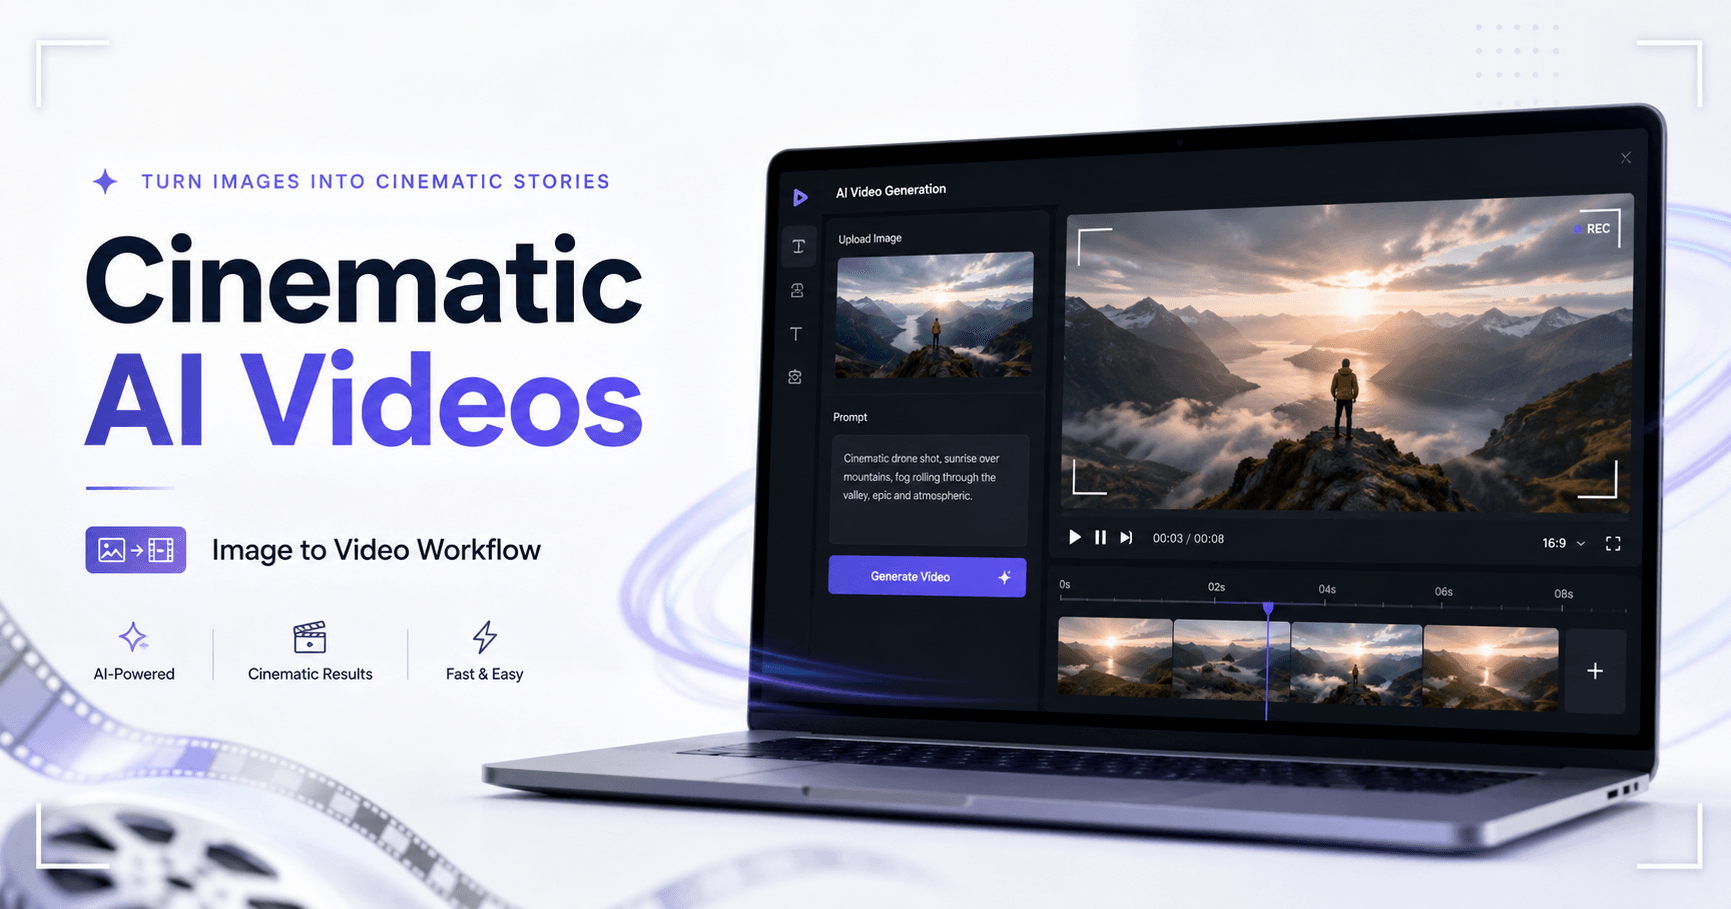

Runway Gen-3 is one of the strongest tools available for creating cinematic AI videos. It allows creators to turn images into moving shots with realistic motion, dynamic camera movement, and a more professional visual style.
For filmmakers, content creators, and visual artists, this is especially important because image-to-video gives much more control over consistency. Instead of asking the AI to create a video from nothing, you can start with a strong reference image and guide the tool from there.
This makes it easier to keep the same character, mood, lighting, and cinematic style across different shots.
Start with a Strong Image
The first step in creating a cinematic AI video is not inside Runway. It starts with creating a high-quality image.
In the tutorial, the creator uses Midjourney to generate the first visual. The idea is to create an image that already looks like a frame from a movie. For example, the prompt describes an alien version of a Cambodian market, shot on 35mm film, with an IMAX-style look, teal and orange colors, and muted color grading.
This type of prompt works well because it gives the AI a clear visual direction. It does not only describe the subject. It also describes the camera style, color palette, mood, and cinematic reference.
To make the result more consistent, the creator also uses a style reference. This helps Midjourney follow the same visual language, including colors, atmosphere, and overall aesthetic.
Choose the Best Frame
After generating a few images, the next step is to choose the strongest one.
The best image is not always the most beautiful one. It should also have cinematic potential. A good frame usually has a clear subject, interesting lighting, depth, and enough detail to be animated later.
In the example, the chosen image shows an alien character in a market. The character feels original, has interesting details, and fits the world of the scene. This gives Runway more visual information to work with.
Before moving to Runway, it is a good idea to upscale the image. A sharper image gives the video tool more pixels and detail, which can help improve the final result. This can be done inside Midjourney or with tools like Gigapixel or Magnific.
Upload the Image to Runway Gen-3
Once the image is ready, the next step is to open Runway and use Gen-3 image-to-video.
Inside Runway, you upload the image and then describe the shot you want to create. This is where the prompt becomes very important.
A good Runway prompt should start with camera movement. This helps define how the video should feel. You can use terms like handheld shot, tracking shot, drone shot, tripod shot, close-up, or slow push-in.
After that, describe what is happening in the scene.
For example:
Handheld shot: an alien character looks around a crowded market.
This prompt is simple, but effective. It tells Runway the camera style, the subject, the action, and the environment.
Keep the Clip Short
Runway allows you to generate clips with different durations, such as 5 seconds or 10 seconds.
For most cinematic shots, 5 seconds is enough. In real films, many shots are short, especially when they are part of a larger sequence. Shorter clips are also easier to control because the AI has less time to distort faces, bodies, or backgrounds.
A 10-second clip can be useful for dialogue scenes or when you need a longer motion, but it also increases the chance of strange results.
For best results, start with 5-second clips and generate multiple versions.
Generate Multiple Options
One of the most important lessons from the tutorial is that AI does not usually get everything right on the first try.
Some generations may look too static. Others may create strange facial changes, awkward movement, or unexpected distortions. This is normal when working with AI video.
Instead of generating only one clip, create three or four versions of the same idea. This gives you more options to choose from and increases the chance of finding a strong result.
In the tutorial, some clips looked strange, while one had a much better camera movement and more natural character motion. That is the version worth keeping.
AI video creation is not only about prompting. It is also about selecting the best result.
Runway Compared to Other AI Video Tools
The tutorial also compares Runway with other AI video tools such as Kling and Luma Labs.
Kling can create interesting movement, but the visual quality may not always be strong enough for professional-looking results.
Luma Labs is good for dynamic movement and can create impressive shots, but it may hallucinate too much. Sometimes it changes the scene or character in ways that were not requested. Its output resolution can also be lower, which means the video may need extra upscaling.
Runway Gen-3 stands out because it usually delivers more realistic faces, stronger cinematic movement, and better overall image quality. It is not perfect and can still create strange results, but it is one of the best options for cinematic AI video work.
The downside is price. Runway can be more expensive than some alternatives, but for professional use, the quality can justify the cost.
Improve Quality with Upscaling
Even when Runway produces a strong video, the resolution may still be limited. In the tutorial, the creator uses Topaz Video AI to upscale the final clip.
This type of tool can improve sharpness, detail, and final export quality. You can use it to upscale a Runway clip to 4K or even higher, depending on your machine and settings.
Topaz Video AI runs locally, so it works best on a powerful computer. If your machine is not very strong, it may take longer or struggle with heavy processing.
For online distribution, H.264 can be enough. But if you plan to edit the clip further, formats like ProRes are usually better because they preserve more quality during the editing process.
A Simple Cinematic Workflow
The full workflow can be summarized like this:
Create a cinematic image in Midjourney
Use a style reference to keep the look consistent
Choose the strongest frame
Upscale the image before video generation
Upload it to Runway Gen-3
Start the prompt with camera movement
Describe the subject and action clearly
Generate several versions
Select the best clip
Upscale the final video if needed
This workflow is powerful because it gives the creator more control. Instead of relying only on text-to-video, you build the shot step by step.
The image defines the look. The prompt defines the motion. Runway brings the shot to life. Upscaling improves the final quality.
Final Thoughts
Runway Gen-3 makes cinematic AI video creation much more accessible. With image-to-video, creators can produce shots that feel more consistent, controlled, and visually polished.
The key is to start with a strong image, use clear camera-based prompts, keep clips short, and generate multiple variations. Not every result will work, but with patience and selection, Runway can produce impressive cinematic footage.
For creators working on AI films, trailers, social media videos, concept scenes, or experimental storytelling, Runway Gen-3 is one of the best tools available today.
It is not the cheapest option, and it still requires trial and error, but when the result works, the quality can feel surprisingly close to real cinematic footage.


Comentarios0
Inicia sesión para comentar.